How to Do Effective Astrophotography Using a DSLR

This is a guest post written by Jason Cook.
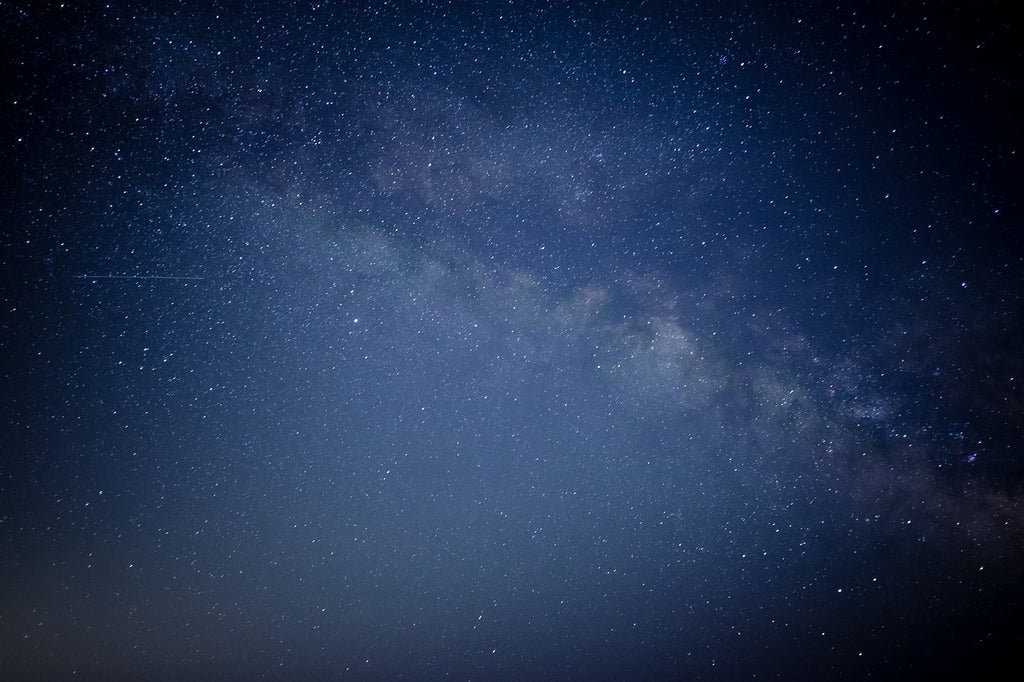
For centuries, the night skies have always been a subject of awe for humans. Over thousands of years, stars and other heavenly bodies have evolved from being worshipped as deities to science explaining them for what they actually are. And for all these years, this heavenly scene has never failed to grab our attention especially on nights of cloudless, clear skies.
Over time, mankind’s fascination with the night sky and its secrets has never died down. Craning our heads up the vast sky of stars is more humbling than any other experience.
Looking up, it makes you realize how small you are… and how beautiful the scene is.
And so over the years, one can’t just be contented with looking up. Capturing an image of a sky full of stars; freezing the moment for all eternity, could just be the most sensible thing to do.
But you see, taking photos at night can be a bit daunting. Its challenges can be far more than what is expected as compared to taking photos during the day. Besides, some extra camera equipment must be had in order to capture that beautiful, starry sky.
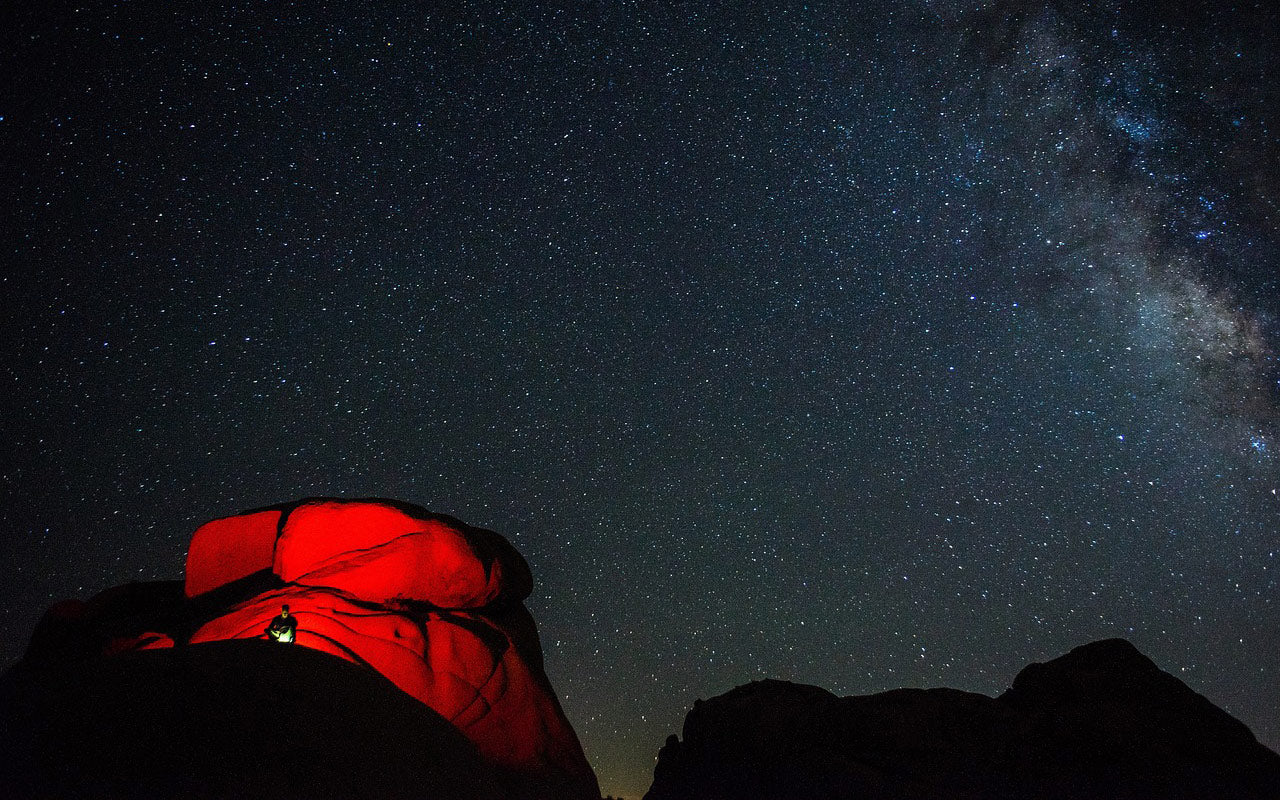
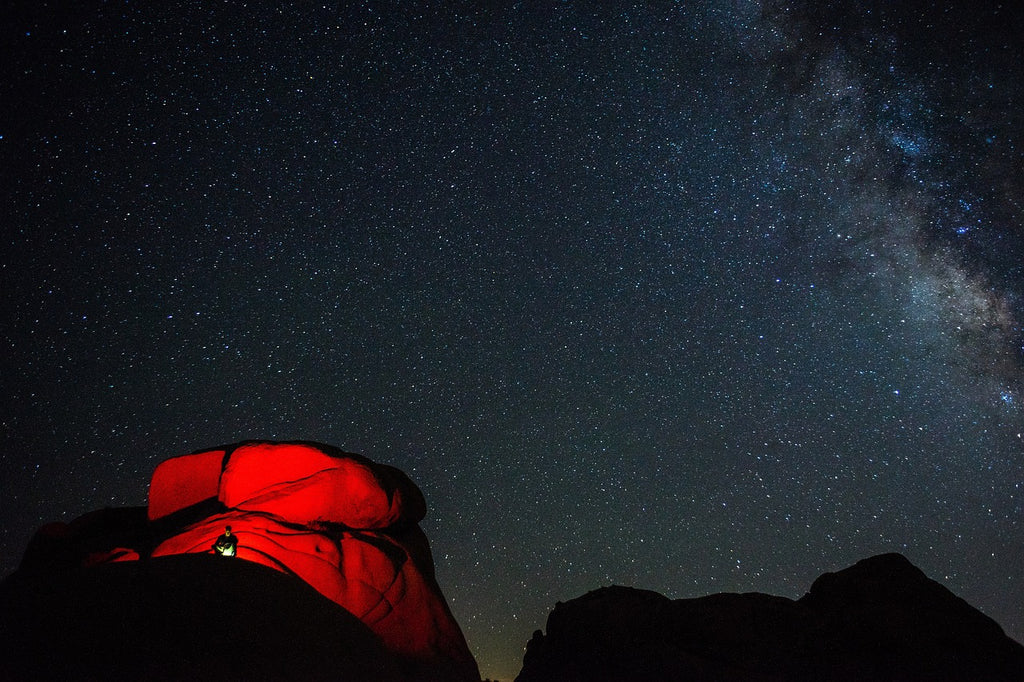
While complicated as it may seem, the rewards of capturing the Milky Way (not the chocolate) over a landscape of dead trees (or any landscape at all) can be just the best thing that you could ever see.
And now that I have your full attention, let me tell you how it’s done.
Let’s first take a look at what you need. Consider these as your ingredients to your spectacular astrophoto:
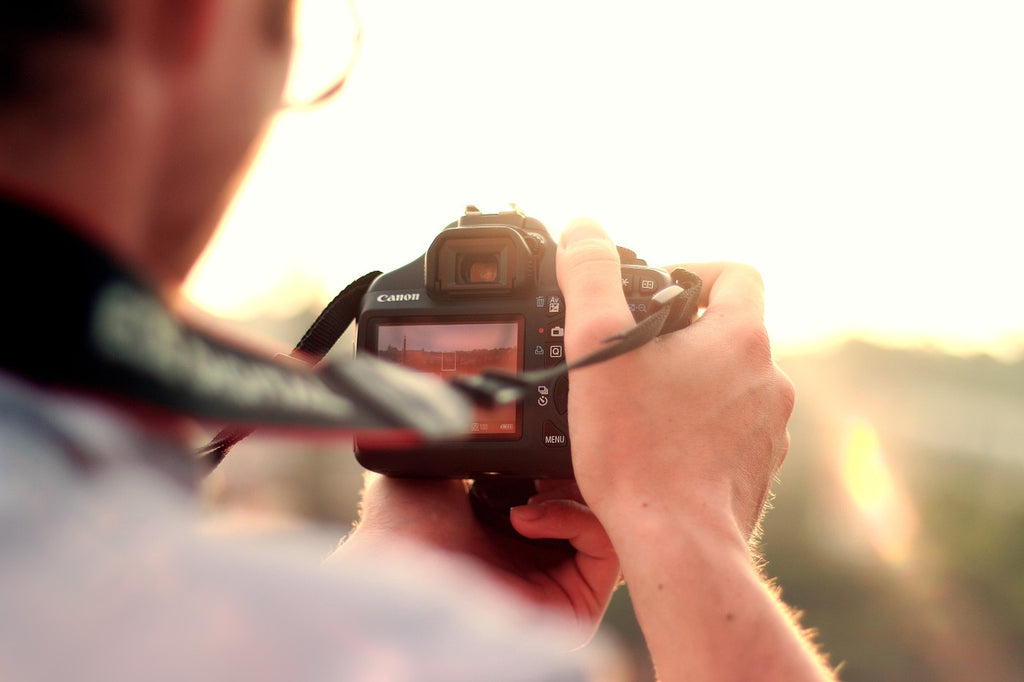
- A DSLR or a Mirrorless Camera (of course!) – make sure the camera has manual shooting controls;
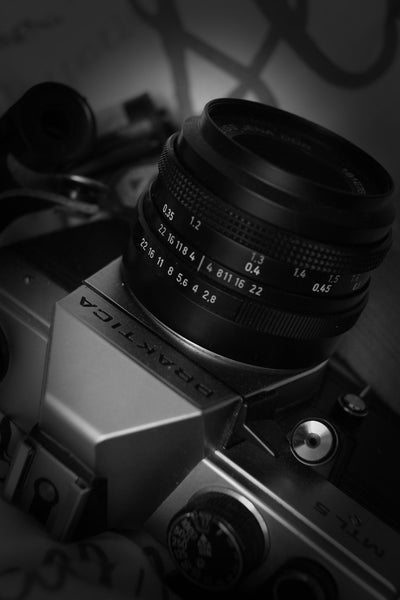
- A Fast Lens – take note that your cam’s aperture should be at least f/4. Anything larger than that is better. Consider an aperture of f/2.8 or f/1.8 or even f/1.4. Remember that the larger it is, the more light your lens can collect, which is just what you need since you will naturally be shooting at night;
- Tripod – make sure this is a solid tripod, and that no amount of wind would be able to topple this equipment. Note that the slightest movement can blur your stars. You don’t want that to happen;
- A Remote Shutter Release – again, the slightest movement (as discussed above) can alter (and ultimately destroy) your photo of stars. You would need to be able to remotely operate the camera without you touching it.
Now, on with the lessons. Here are 5 useful tips when doing astrophotography using your DSLR.
-
Your Camera’s Delay Timer – Super Important!
 Getting into a specific photography niche can require you certain investments. In the case of astrophotography, it may be necessary for you to get a hold of star-tracking devices and special lenses that may not be necessarily used in other photography projects.
You may also find that the post-shooting editing processes would be more tedious and could test your patience. But eye on the prize – which is a beautiful photo of a starry night sky. So, don’t stop reading now.
Anyway, taking photos of the night sky requires a lot of lighting to hit your sensor at specific (and extended) periods of time. Should your shutter be too short, you get dark-looking stars. Put your shutter on for too long and you get comet-looking lights in your skies.
And so in astrophotography, while you are taking exposures for extended periods, there is a great need for the camera (on a tripod) to remain as still as possible. No amount of wind or unknown critters should move the camera while it’s taking long exposures. Even your touching the camera to take the photo would cause it to move, and that’s a big NO-NO.
And so to avoid any movement of the camera (and ultimately destroying your photo), you can make use of your camera’s delay timer. A two to ten-second delay would do.
Or better yet, you can use a remote shutter release timer. That would be way, way more convenient.
-
Use Manual Focus
Because the stars are too dim during the night, your camera’s autofocus will not be as important during astrophotography. It would thus be sensible for the lens to be put on manual focus mode.
And while in manual focus mode, look for something bright in the night skies. Be it a big star, a planet, or anything bright; then turn your live-view mode of the camera on. With the camera settings adjusted, you would be able to find at least one bright star on your LCD.
Next, zoom in and out. Try a 5x zoom or even a 10x zoom. Find at which point that star is the brightest, at which point it is at its sharpest. And while you’re at it, capture some samples and see to see some slight changes with the size of the stars.
And while we’re at it, it should also be noted that in doing astrophotography, it would be important for you to use your camera’s largest aperture for better sharpness.
-
Use the RAW Mode (or the Daytime White Balance)
In astrophotography, probably the best format to shoot in would have to be when it’s in Digital RAW. One main reason for this is that it provides you with more control over your editing process later on. Shooting in Digital RAW would also make it possible for you to capture all of the original image information. This is the better option compared to using compressed JPEGs.
On the other hand, if you insist on using JPEGs, the whitish color of stars can be corrected when your white balance is set to Daylight. The effect may be a bit off though especially if there’s too much light pollution. But fear not because if such happens, you can have it fixed by making use of a custom white balance.
Or again, go back to using Digital RAW.
-
The Best ISO Setting for Astrophotography
The truth with astrophotography is that in this niche, there is no standard formula for the perfect ISO setting in your DSLR. It should be emphasized that DSLR cameras create more noise. The higher the ISO, the more noise your DSLR creates and the more sensitive it becomes to light.
This is due to the camera sensor heating up while it collects light; a reaction common when the camera is set to high ISO setting and is left for extended periods of time.
To address this issue, you must find a balance between the light collected and the amount of noise that is produced. This can be done by stacking images together which is known to greatly improve the signal to noise ratio.
And while we’re on the topic, please also make sure to disable your camera’s sharpening feature. When taking photos of the sky with the sharpening feature on, stars may be sharper but it makes the noise more visible in your photos.
-
Go Pitch Dark
Finding your perfect spot would be one of the most important things you need to do in astrophotography. While most astrophotographers would probably think of New Zealand, Iceland, and the Nordic countries, or somewhere by the beach, the world around you can also provide you with a perfect setting without you paying a visit to these stargazing destinations.
Although going pitch dark is not an absolute must, doing so would make things easier for you especially when you’re a beginner.
Get away from light pollution as much as you can. Head out of the cities; go somewhere dark (and safe). If you must, there are apps online that can give you a visual summary of light pollution in your area.
A fervent reminder, though. Do not just head out to the dark without exploring it during the day. You must be able to familiarize yourself with the location. You must be able to find a spot where you can safely work at night.
And finally, bring a flashlight or a lamp. You can’t afford to stumble and break your camera on your way to (or from) the location, can you?
To end, astrophotography is an art. And as with everything related to art, there are no set rules. You learn the basics and once you’ve mastered them, you can go ahead and experiment.
So go ahead. Be a star.
About the Author:
Jason Cook is a writer at www.telescopicwatch.com. When asked what he does, his simple answer is - he's an astronomer. He largely focuses on the composition and atmospheres (when applicable) of icy bodies, such as Pluto, Triton, Charon, Kuiper belt objects, comets, and other icy satellites.
Also in news

Taking Meaningful Travel Photos